Underwater photography basics: let’s Shoot Underwater!
Underwater photography is magical—but it’s also expensive, gear-heavy, and honestly a bit intimidating when you’re just starting out. Whether you’re dreaming of wide-angle whale shots of whales or colorful macro photos of little critters, setting yourself up for success starts with the right equipment… and a little planning. If you’re ready to learn the underwater photography basics, you’re in the right place.
Step 1: Know Your Goals and Your Budget
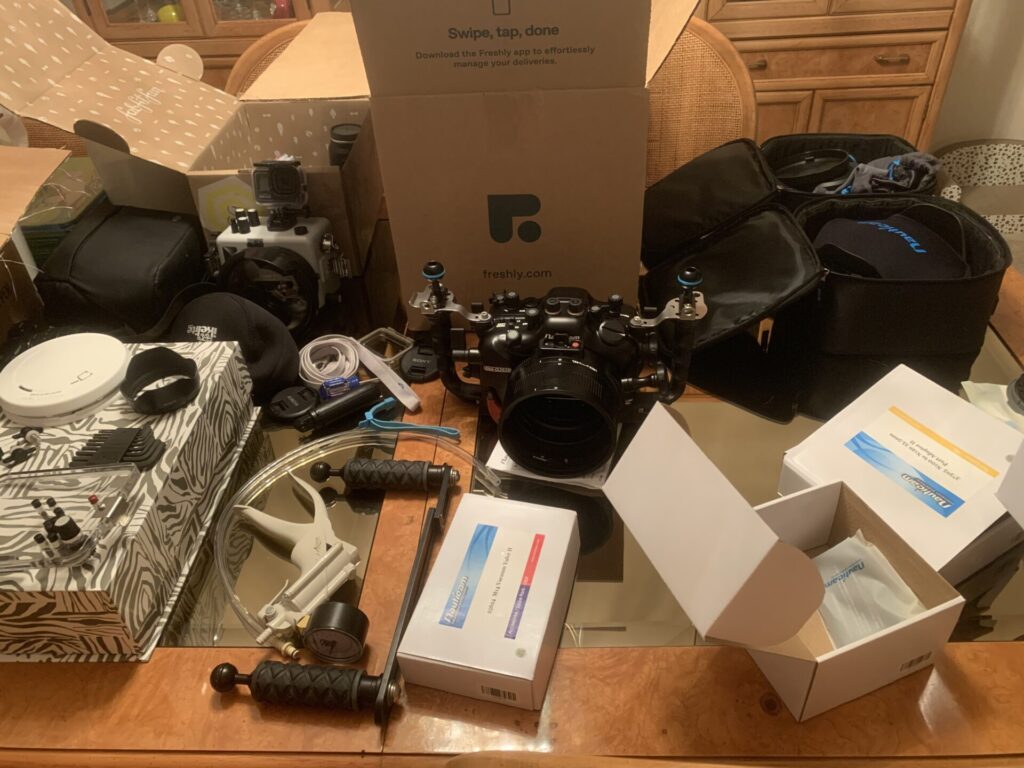
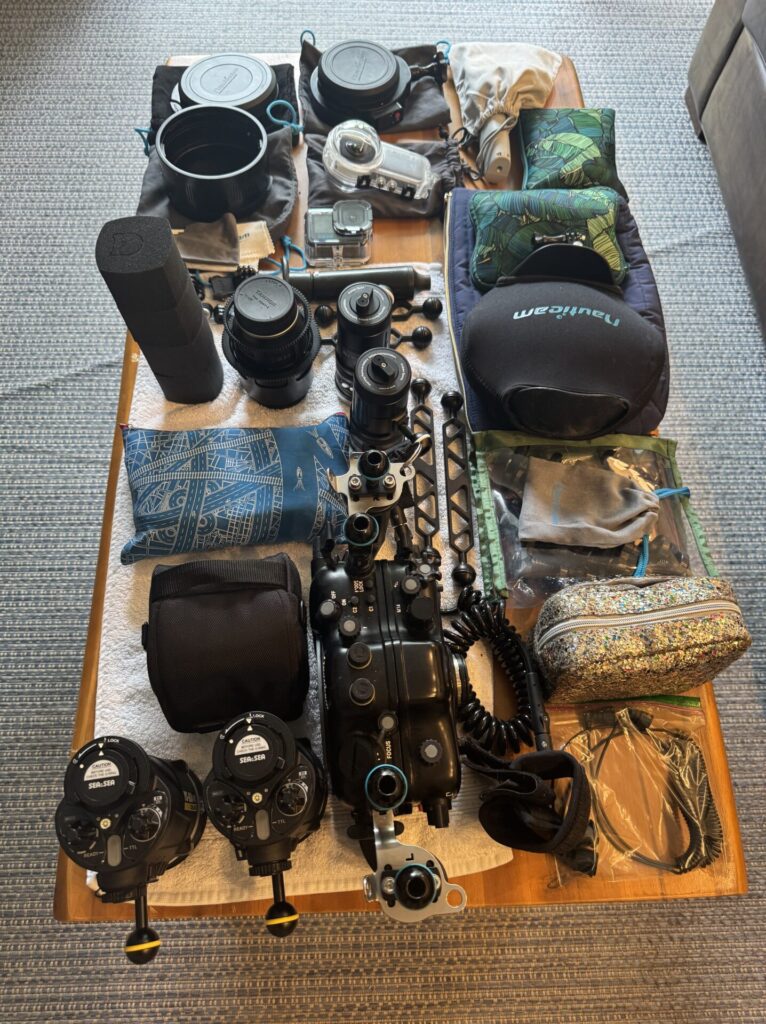
Step 1 to any guide to underwater photography basics: the gear is EXPENSIVE. The components are modular, often brand-specific, and almost always an investment. The go-pro is the cheapest thing on my rig. So before you dive in, it pays to have a clear game plan.
Ask yourself:
- Where are you going?
- What are you hoping to photograph?
- How much are you willing to spend?
If you’re looking for something more beginner-friendly—think GoPro-style ease—check out this post on entry-level underwater setups. But if you’re ready to build a serious kit, keep reading.
Step 2: Pick Your Camera—Sony and Canon Dominate
Most underwater photographers I know shoot on Sony or Canon systems. There are housings for Nikons, if that’s your preferred brand, but I don’t think I’ve ever met anyone who shoots on a Nikon.
Mirrorless cameras are a favorite choice because they’re smaller and lighter than DSLRs—a huge plus when you’re trying to keep weight down with heavy housing, lights, and accessories.
A few more questions:
- Do you want to shoot mostly photo or video?
- Do you want to put stuff on social media? Algorithms prefer video.
I chose the Sony A7rIV because it has a huge sensor 61mp sensor and I can crop still images way down and still maintain the integrity of the photograph. With that being said, it’s not the best for video. I chose to mount a go-pro on my housing, so that I can do both at the same time. If you want to focus on video, it may make sense to pick a camera with top-of-the-line video settings.
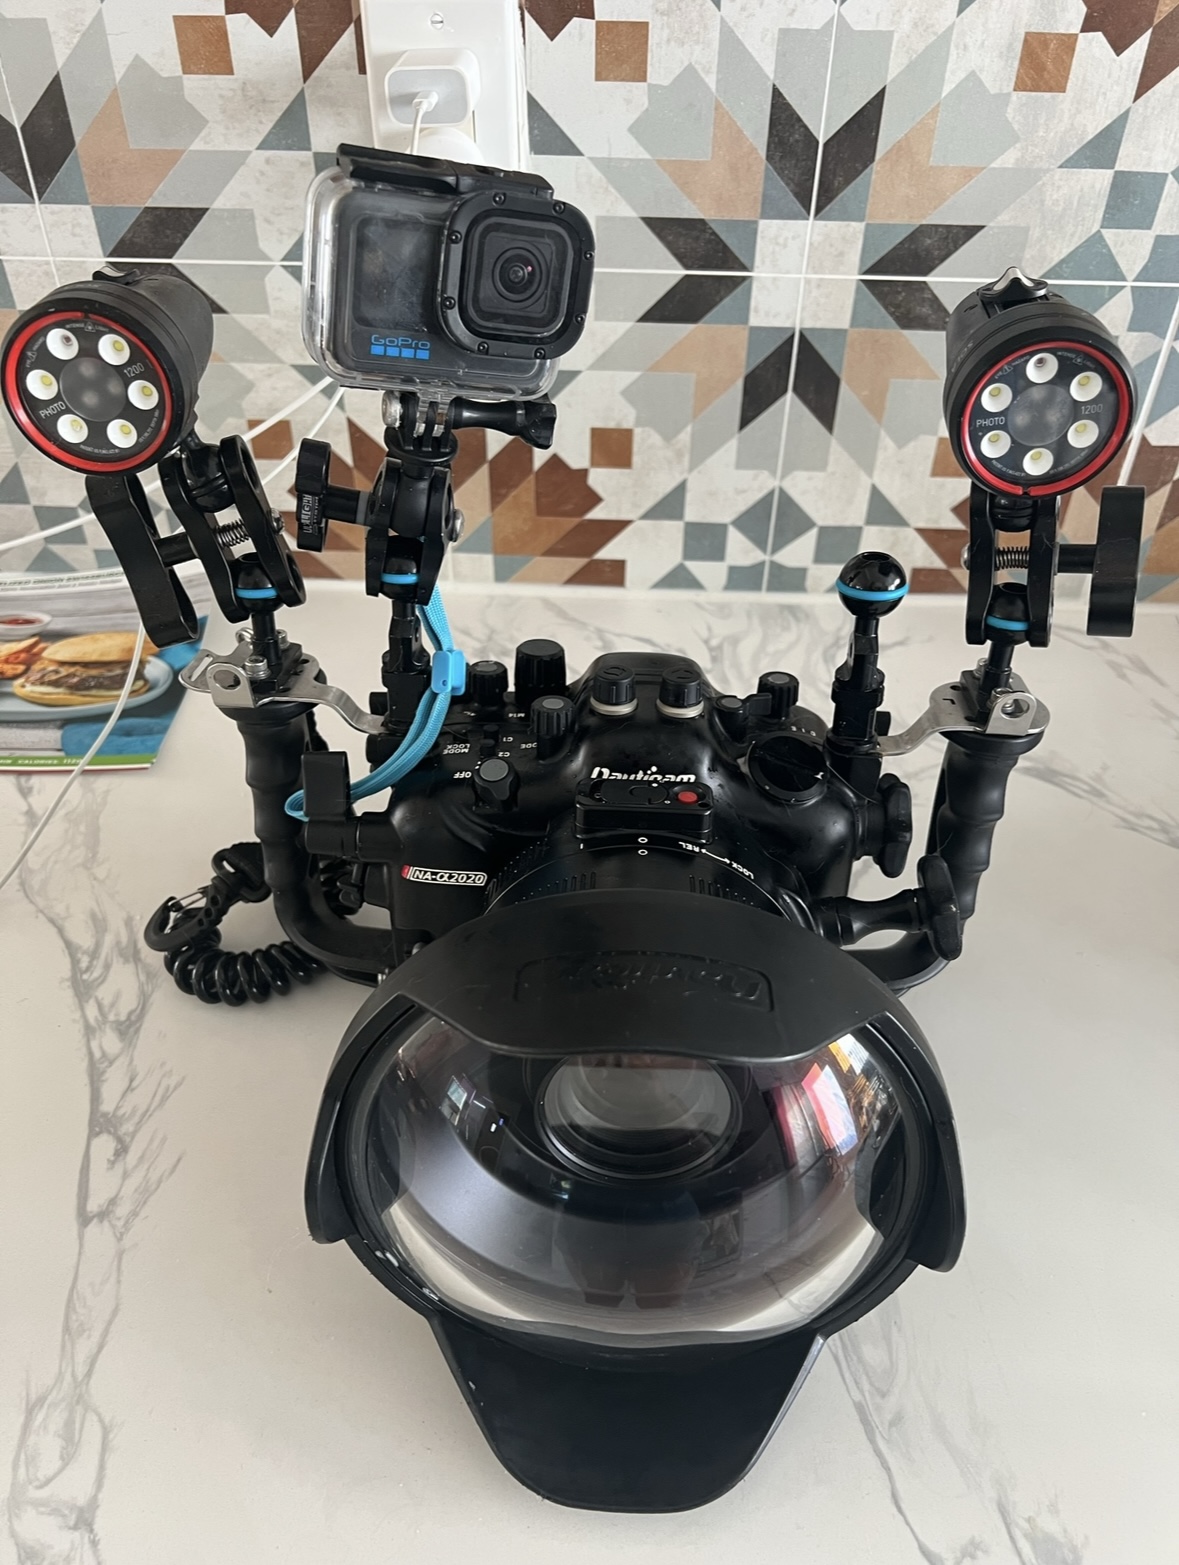
Step 3: Choose a Housing (This Is Where It Gets Real)
Your camera can’t go underwater on its own—you’ll need a dedicated housing, which is a key part of the underwater photography basics toolkit. When I bought my rig back in 2021, the housing cost the same as the camera itself, so prepare yourself lol. Here are a few top brands:
- Nauticam – High-quality aluminum housings, modular designs, excellent port charts
- Sea & Sea – Sturdy builds, solid support
- Aquatica – Known for durability and rugged design
- Ikelite – More affordable, made of polycarbonate plastic instead of aluminum
💡 Note: I went with Nauticam partly because of their detailed port chart—it made matching lenses and ports straightforward, especially as a beginner.
Picking the housing, lens, and port system can be the most intimidating part. The guys at Blue Water Photography have great guides and can specifically answer questions about the set up you’re trying to put together. I think it’s important to do some re-search on your own so that you understand the components, but don’t be afraid to ask questions.
Step 4: Pick the Right Lens (Based on What You’re Shooting)
Lens choice is where many new photographers get stuck. But here’s a simple breakdown to keep in your underwater photography basics playbook:
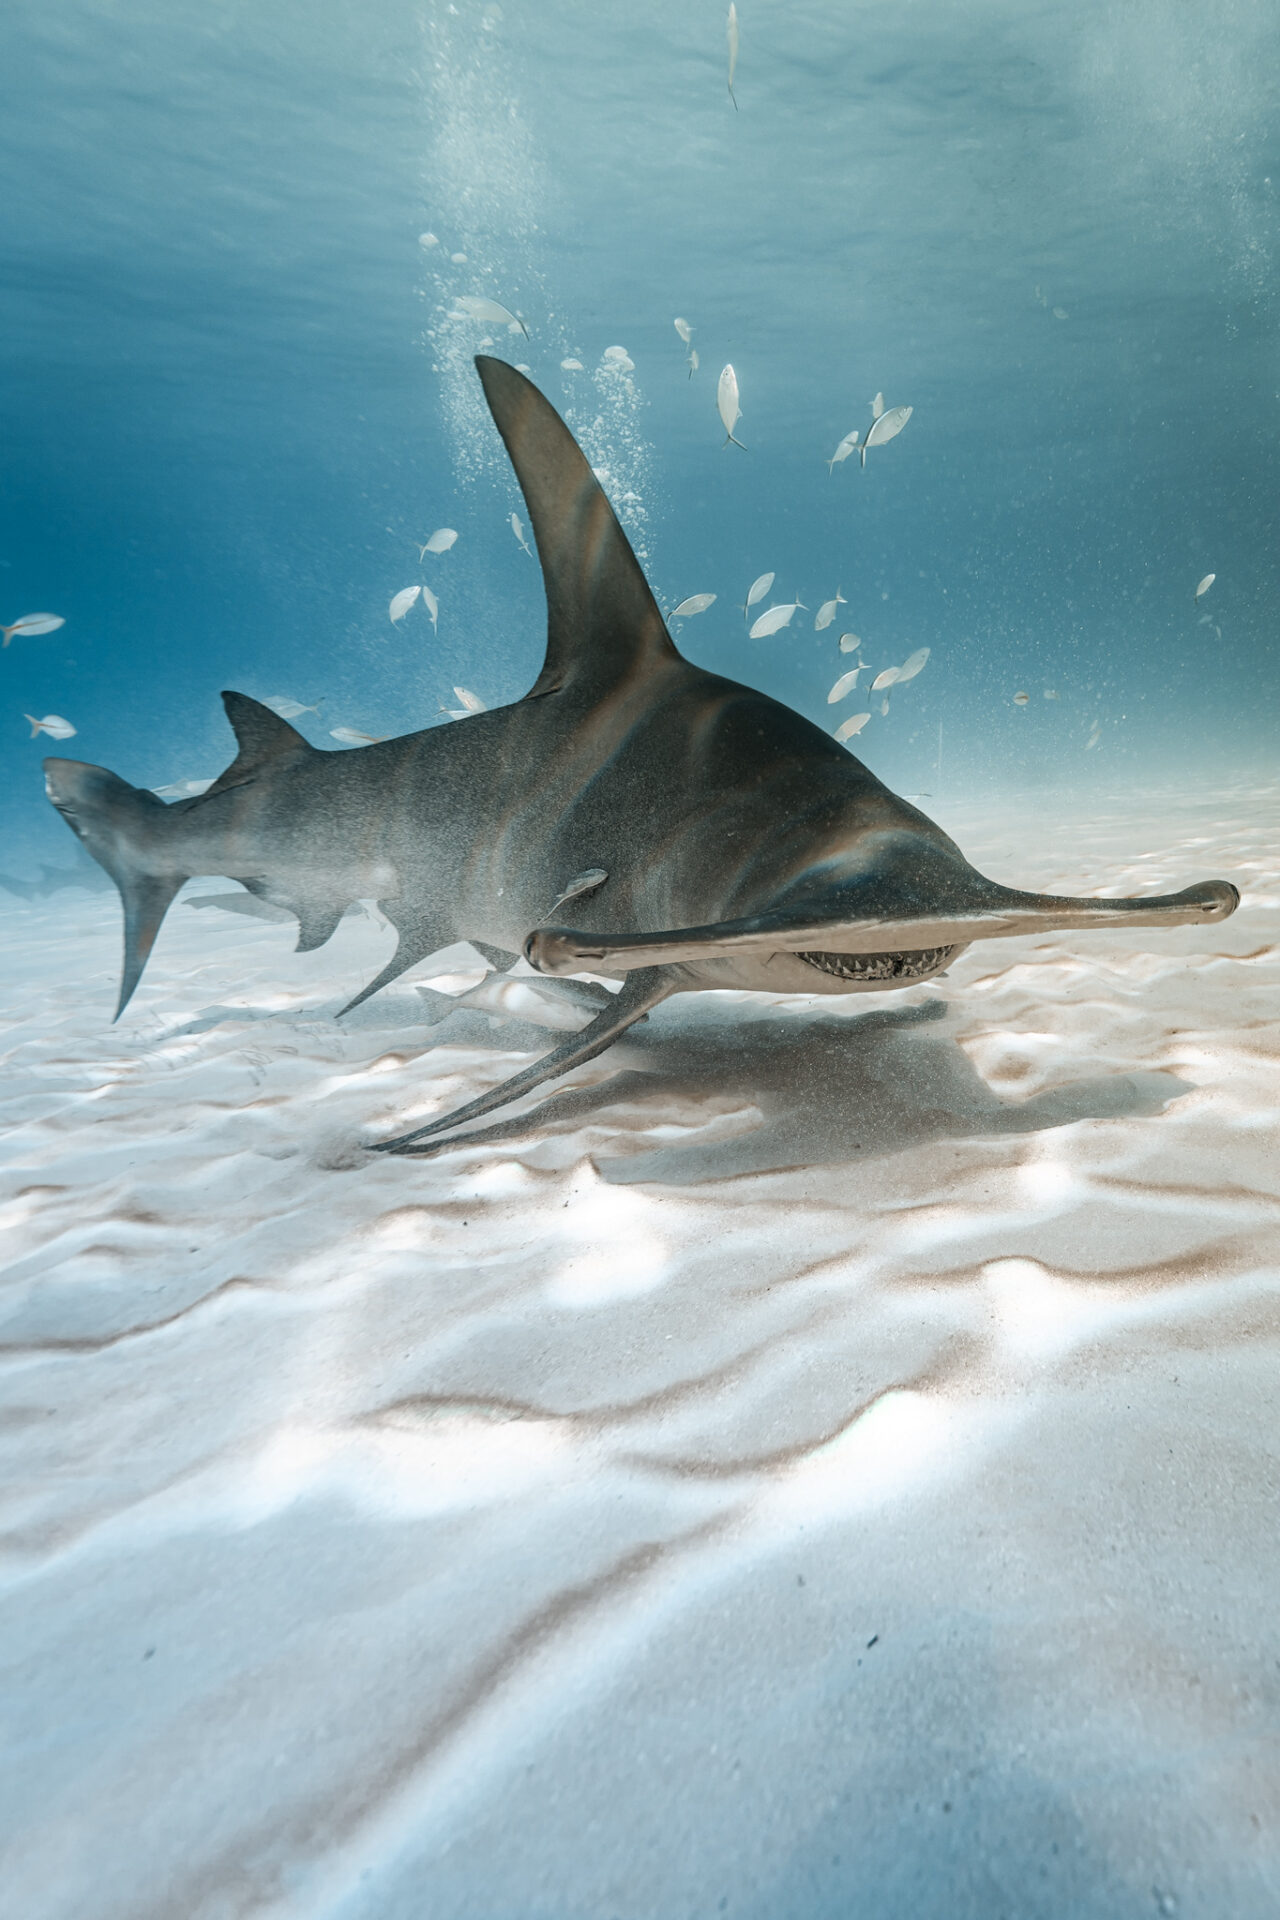
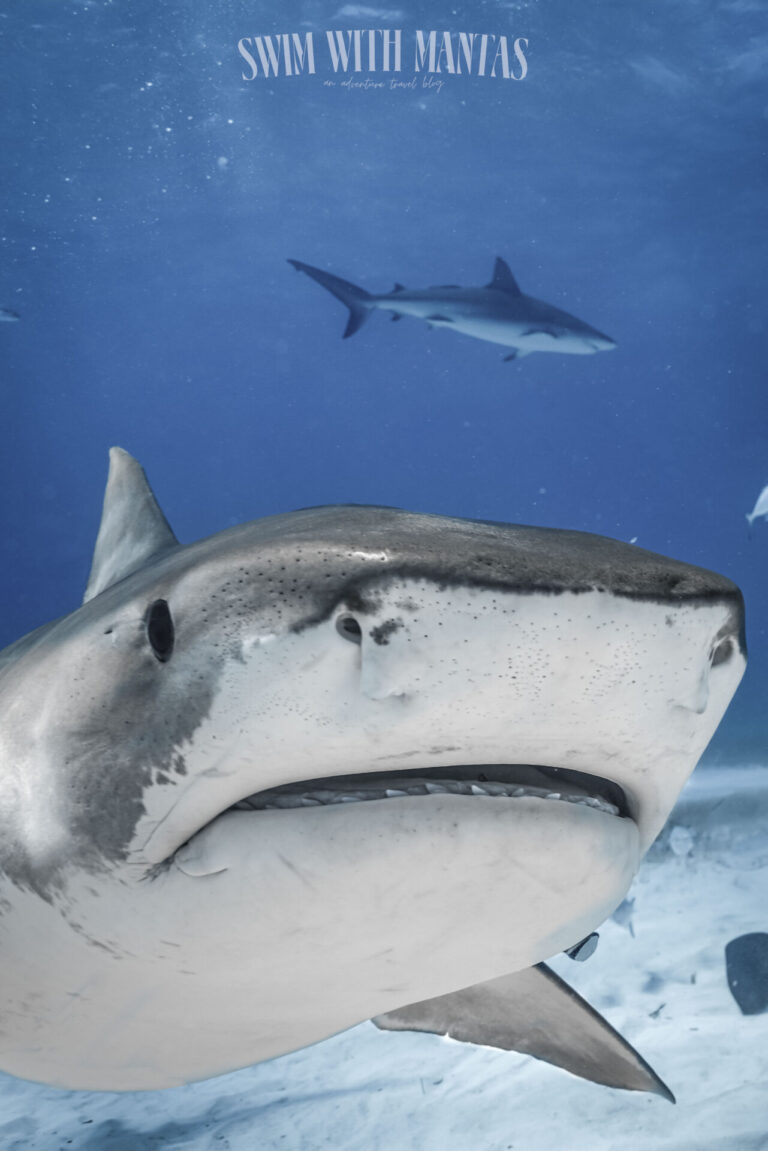
- Large animals (sharks, whales, mantas): You’ll need a wide-angle lens to capture their full scale up close.
- Reef scenes and mid-sized marine life: A mid-range zoom lens will give you versatility for a variety of compositions.
- Tiny subjects (nudibranchs, shrimp, textures): Go for a macro lens to get crisp detail on the small stuff.
It feels obvious to say but you can’t change your lens underwater. So you’re stick with the lens you put on before you get underwater.
Remember, your lens determines which port system you’ll need—which is why that port chart comes in so handy.
Step 5: Get the Port System
This is pretty straight forward; order the port system from your housing manufacturer.
Step 6: Lighting—The Real Game Changer
Lighting is a non-negotiable in underwater photography. Water absorbs light quickly, especially reds and oranges, leaving your photos flat and blue without artificial light.
There are two main lighting tools in the underwater photography basics toolkit:
- Strobes: These are essential for high-quality stills. They fire bursts of light that restore natural color and contrast.
- Video lights: Great for filming or for continuous lighting during focus and composition. They also help with visibility in crevices or cloudy water.
💡 Start with one light if you’re on a budget—you can always upgrade to dual lighting later.
Mastering underwater photography basics isn’t about buying the flashiest gear—it’s about understanding how each part of the system works together. By thinking ahead, setting a clear budget, and picking the right combination of camera, housing, lens, ports, and lighting, you’ll avoid the frustration (and cost) of mismatched gear.
Once you’re in the water and everything clicks—the weightlessness, the focus, the connection with your subject—it’s worth every penny and every ounce.